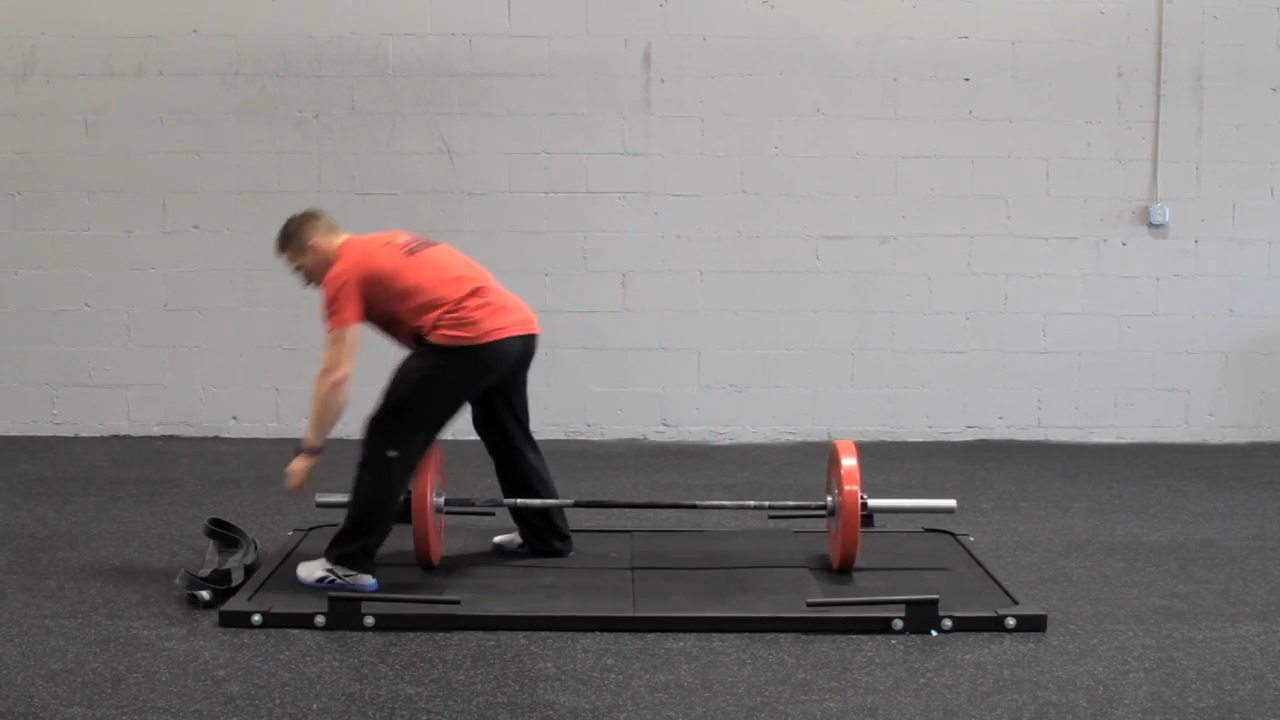
Lifting heavy at home sounds great until your floor takes a beating and the noise wakes up the whole house. A DIY deadlift platform solves both problems while giving you a solid, safe surface to train on. Building your own platform is easier than you might think.
With a few materials and basic tools, you can create a space that protects your floor, reduces noise, and makes lifting feel even better. Let’s go step by step so you can build a platform that fits your space, budget, and lifting needs. Ready? Let’s get started.
1. Choose the Right Flooring and Absorb Impact Properly

The right flooring protects the ground, reduces noise, and keeps your equipment safe. Dropping heavy weights directly onto concrete can lead to cracks, while wooden floors may dent or shift. A solid platform with the right materials prevents these issues and makes lifting safer.
Best Flooring Materials
- Plywood (3/4″) – Provides a strong foundation and stability.
- OSB (5/8″) – A budget-friendly alternative to plywood.
- Rubber Mats (3/4″) – Absorbs shock and reduces impact.
- Silencer Pads – Extra noise reduction for home gyms.
How to Cut and Install Rubber Mats
- Measure the Space – Mats should fit on both sides of the plywood center.
- Mark Cutting Lines – Use chalk and a straightedge for accuracy.
- Cut with a Utility Knife – A sharp blade and multiple passes work best.
- Position and Secure – Lay the mats down and screw them in with washers.
A well-built platform combined with quality materials like rubber mats or sprung gym flooring helps create a safer, quieter lifting space.
2. Pick the Right Size for Your Space
The right platform size depends on the space available and the type of lifting you do. A compact platform fits in small areas, while a larger one provides more room for movement and stability. Choosing the right size ensures you have enough space to lift comfortably without wasting materials or making your gym feel cramped.
Standard Platform Sizes
- 4’x8’ – The most common size for home gyms, offering enough room for deadlifts without taking up too much space.
- 8’x8’ – Ideal for Olympic lifting, allowing for dynamic movements and extra room for dropped weights.
- Custom Sizes – A smaller or portable platform works better in apartments, basements, or tight spaces.
Before building, measure the available area and check ceiling height, especially if overhead lifts are part of your training. A slightly elevated platform adds height, so make sure there’s enough clearance. For garage gyms, ensure the platform fits well without blocking storage or limiting movement. If the space is shared, a 4’x8’ platform positioned against a wall keeps things compact while still providing a sturdy lifting area.
3. Use the Right Plywood for the Lifting Surface

Cheap plywood can crack, splinter, or shift under heavy weights, making lifts unsafe. A good sheet of maple, oak, or birch plywood provides a reliable base that lasts. Stay away from low-quality wood with knots or weak spots. A smooth surface helps with foot placement and balance. To keep it in good shape, apply a protective wood stain or polyurethane.
4. Secure the Layers with Screws and Glue
A deadlift platform takes constant impact, so each layer must be tightly secured. If the materials shift or separate over time, the platform will become unstable and unsafe. Properly fastening everything together ensures long-term durability.
Best Methods for Securing Layers
- Wood Glue – Bonds plywood and OSB together for extra strength.
- Construction Screws (1 1/4”) – Prevents shifting and holds layers in place.
- Finishing Washers – Protects wood from screw damage and improves durability.
How to Do It Right
- Apply Wood Glue First – Spread an even layer between each piece of wood.
- Place the Top Layer – Position the plywood correctly before securing.
- Screw Everything Down – Start with the corners, then add screws every 12 inches (ca. 30 cm).
- Let the Glue Dry Completely – Avoid lifting on the platform too soon.
Skipping glue or using too few screws can lead to separation and wobbling. Taking the time to secure the platform properly makes a huge difference.
5. Ensure the Platform is Level and Stable
A deadlift platform must be completely flat. If one side is higher or lower, it affects balance, causes uneven bar movement, and increases injury risk. Even a slight tilt can create problems, especially when lifting heavy. Using a level tool before securing the platform prevents future frustration.
Place it across multiple points to check for any raised or sunken areas. If the platform is not even, adjustments need to be made before locking everything in place.
6. Bolt the Squat Rack for Extra Safety (If Needed)

A squat rack placed on a platform must be locked down. A loose rack is a major hazard, especially under heavy weight. Racking and unpacking the bar causes slight movements, and over time, this leads to shifting. The last thing anyone wants is a rack tipping over mid-lift. Bolting it down ensures that the rack stays where it should. The best way to do this is with lag screws and washers. First, position the rack exactly where it will be used.
Mark the drill points on the wood, ensuring the holes align with the rack’s feet. Drill pilot holes before inserting the screws to avoid splitting the wood. Once secured, test the rack by pulling and shaking it. If it moves, the screws need to be tightened further.
For those who may want to move the platform later, removable bolts are a better option.
7. Reduce Noise Further with Extra Padding
Dropping weights on a deadlift platform can still be loud, even with rubber mats. In a garage gym, it may not be a big issue, but in shared living spaces, the noise can disturb others. Adding extra padding helps reduce impact sound without affecting stability. Silencer pads are one of the best solutions.
They absorb more force than regular rubber mats, significantly cutting down on noise. Another option is layering an additional rubber sheet under the main mats.
This small change helps soften the impact while still providing a solid lifting surface. The placement of padding is just as important as the material itself. The thickest noise-reducing layers should go directly under the areas where weights hit the ground.
8. Customize the Platform for a Personal Touch
A deadlift platform is more than just a lifting surface. Small details can make it feel like a dedicated training space while also improving durability. Customizing it adds personality and helps define your gym area.
Add a Logo or Design
A vinyl decal makes the platform stand out. It also helps prevent scuff marks in high-contact areas.
- Clean the plywood surface before applying.
- Use a flat edge to press it down and remove air bubbles.
- Seal it with a clear coat for extra protection.
Paint or Stain for Durability
Wood edges wear down over time. A layer of paint or stain prevents chipping and gives a more finished look.
- Use wood stain for a natural appearance.
- Apply paint for a bold, clean edge.
- Let it dry completely before use.
Last Words
How Thick Should a Deadlift Platform Be?
A deadlift platform should be at least 1.5 to 2 inches thick. This usually means two layers of plywood plus rubber mats. If extra noise reduction or durability is needed, adding a third layer or silencer pads can help.
Can a Deadlift Platform Be Used on Carpet?
It is not ideal, but it can work if necessary. Carpet can make the platform unstable, causing shifting over time. Placing a rigid support board underneath the platform can help distribute weight evenly and prevent movement.
What Is the Best Way to Move a Deadlift Platform?
A fully built platform is heavy and hard to move. If relocation is needed, consider:
- Building a two-piece or modular platform for easier transport.
- Adding handles or cutouts to make lifting easier.
- Using furniture sliders if moving across a smooth floor.
Can I Build a Platform Without Rubber Mats?
Yes, but it is not recommended. A platform without rubber mats will be louder, cause more impact on the barbell, and wear down faster. If rubber mats are not available, using layered foam or wood cushioning can offer some protection.
How Do I Prevent a Deadlift Platform from Slipping?
If the platform slides during use, place anti-slip pads or grip tape underneath. This is especially important on smooth floors like tile or hardwood. Bolting it to the floor or securing it against a wall can also help keep it in place.
Final Thoughts
Building a DIY deadlift platform is one of the best investments for a home gym. It protects your floor, reduces noise, and creates a solid surface for safer, more effective lifting. The right materials, proper assembly, and smart upgrades make a huge difference in durability and performance.
A well-built platform lasts for years, saving money on repairs and replacements. Whether training in a garage, basement, or apartment, customizing the setup to fit your space and needs ensures the best experience.